Tuesday, January 28, 2014

Welcome 2014!

So it's been more than awhile since I have posted.  I have just been so very busy.  I'm a high-school Math teacher and the fall is just crazy.  I also have all my craft shows during that time, too.  But enough with the excuses!  I have time to post now, so here we go!

First, I see I did not update everyone on my participation in scrappyblanket.com.  I was able to work with the lovely Rachele (BabyLoveBrandKids - Now CypressTextiles) on a site devoted to scrap blankets.  Of course... we both got busy and...  We're putting it on hold for now.  However, we have quite a few things up, and it's still a neat site to see other's work.

Secondly, I was featured on another talented artist's blog:  Spincushions.  I've been following Shelley on Instagram, and when I saw she was doing a tutorial on joining, I had to let her know about my favorite one!  The tight join!  You can see that post here.  Stop by and say hello to Shelley!

Even though I have been absent from the blog, I have certainly been crocheting away!  I would love to show you all a few highlights of what I have been up to...


Let's first start with the Wooden Button hat.  I bought all my buttons from Pymatuning Crafts.  
Great customer service.  I highly recommend them.  
I used to workout with Mary and Jamie.
Since they (as well as Mary's family) are so beautiful, I asked them to show off their hats!

Of course I worked on many, many cowls.  I just have a few pictured here...


I made a cute little hedgehog for my coworker.  She is sewing me a bag in exchange!  
I can't wait to see it...and hopefully show all of you!
By the way, I nabbed that pattern from a great etsy seller:  oneandtwocompany

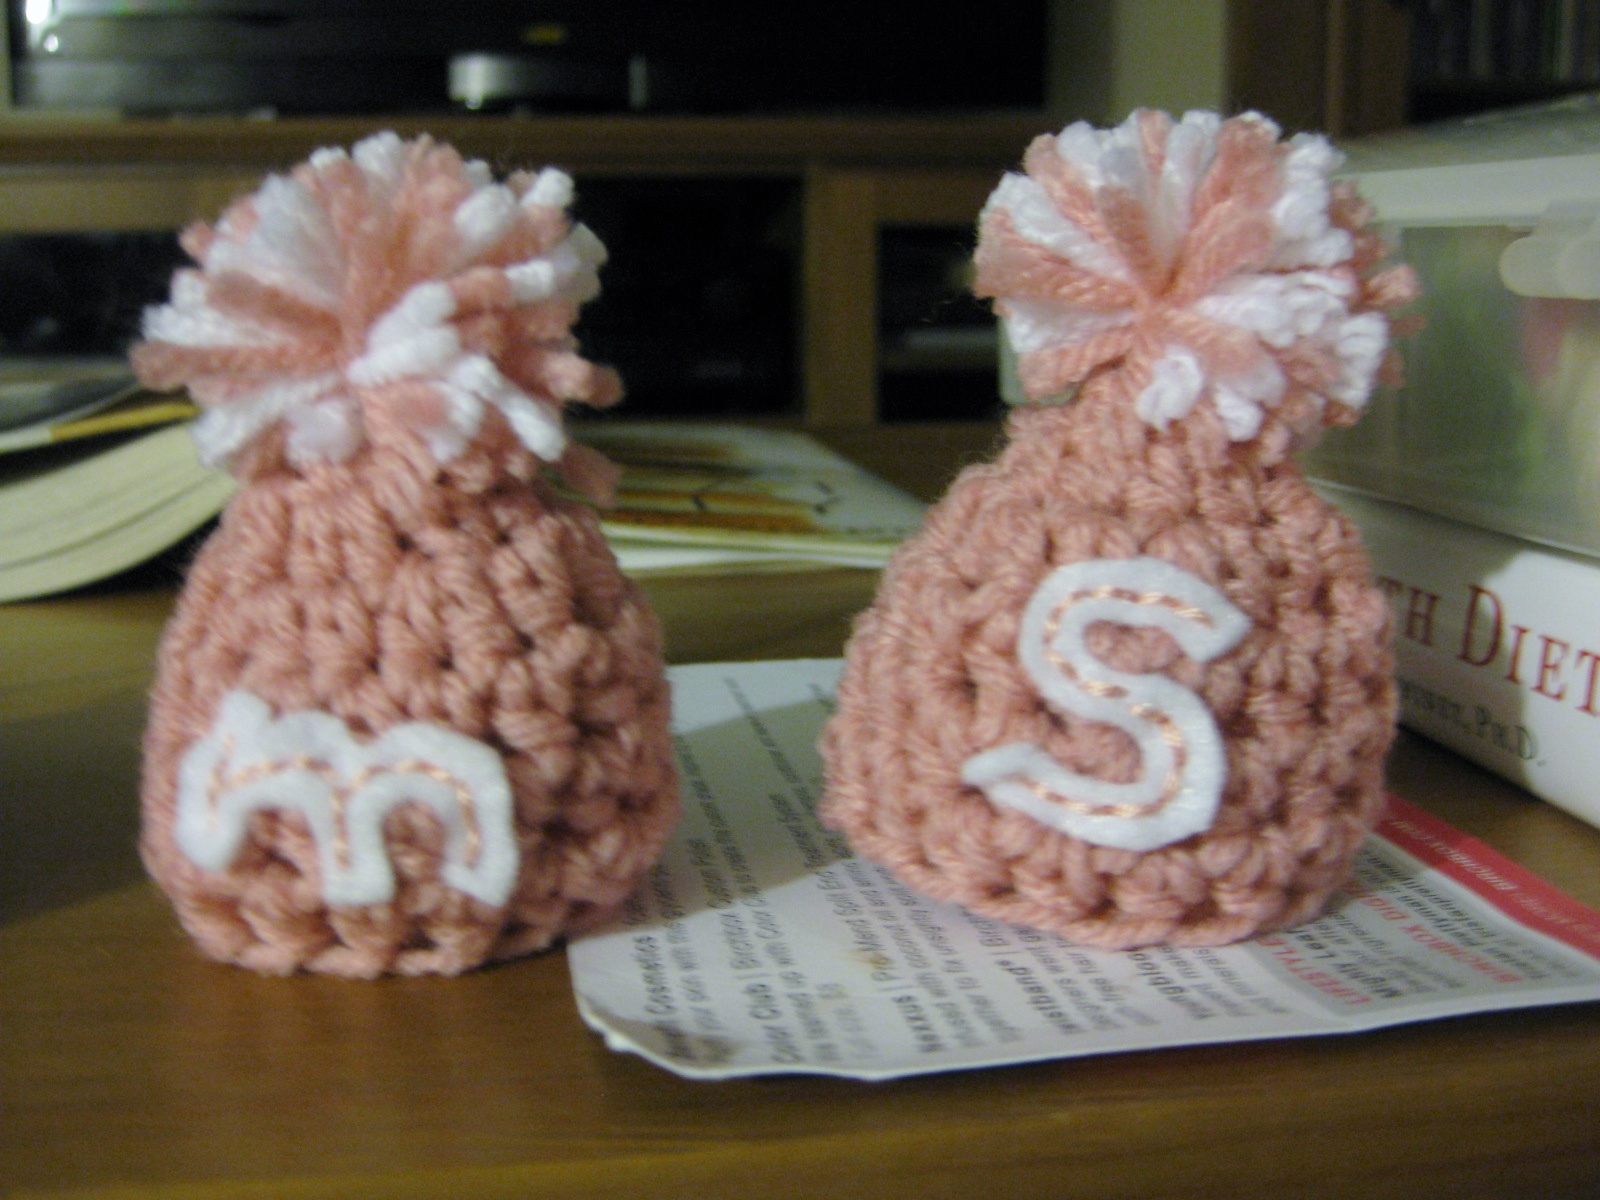
I've also been into tag-making, too.  I don't know why... but it's small and fun!  

Finally, I made quite a few blankets...  
I think there may be some I am missing since it's been so long since I have talked with all of you.. but here are a few:
This one was made for my friend Jamie.
You can find the pattern from Nittybits here.
You can learn the continuous join-as-you-go from Rachele here.
This was just a traditional granny square made of scraps for my friend's mother.
It was also my first time using the continuous join-as-you-go method.
Again, Nittybits came up with the pattern of this blanket.  You can find it here.
I learned the pom pom border from Robin at Once Upon a Pink Moon here.
And because I love it so much, this is also the continuous join-as-you-go method.
This green and blue blanket was purchased by my friend Carrie.
It's called the Gumball and the pattern can be purchased from BabyLoveBrandKids/CypressTextiles here.
I really enjoyed doing the reverse single crochet on this blanket!
This little baby blanket was made up of some of my leftover yellows... Doesn't it make you happy?
If you're interested in the pattern, you can again find it at BabyLoveBrandKids/CypressTextiles here.
The edging was simply a hdc around with a fpdc, bpdc for a few rows.


Well, it's probably up to negative 5 degrees outside now that it's almost 1 PM here...  Hello Polar Vortex of 2014.  So I should shove off and finish up all my tasks I want to get knocked out on this cold day that I have off from school.  I hope that wherever you are that it's much warmer there!

Until next time, enjoy this goofy picture of me.  My friend Andrea... her daughter found a way to use my yarn scraps.  She's such a clever kid!
YARN NERD!

Saturday, August 24, 2013

Bunting Tutorial

A few weeks ago my sister-in-law asked if I could make a bunting for my nephew's first birthday.  I've been wanting to make a bunting for a long, long time... but I had no idea what I would make it for.  So when she asked, I was super excited!  Then I thought... why not make a tutorial?  So here it goes! 


Baby Bennett Bunting Tutorial
(The B cubed tutorial, if you're a math geek like me!)
 
Step One:  Get all your supplies.  I have felt, yarn, glue
gun and glue, scissors, and pom makers here.

Step Two:  Make a template in the shape you want for your bunting.
I thought about a triangle, but I decided on a curved rectangle instead.
You can chose to use a cardboard template if you're going to trace it on your
felt, or you can just use the paper template (like I did on the right), pin it
down, and cut it out.  I'm impatient, which made me think of just pinning!

Step Three:  I chose to go with a paper template.  I'm slightly lazy, so I
decided the picture on the left, tracing the cardboard, was too much work. 
NOTE:  I left a little extra at the top, because we will fold it down later.

Step Four:  Cut out as many pieces as you need.

Step Five:  Go on your computer and go to 1001 Free Fonts.  There, you can choose a font and preview it.
If you need your preview type to be larger, hit Ctrl and the + sign on your keyboard.
You will see I noticed I only needed 4 letters...  Oddly, they spelled BENT.  So weird.
Anyway, trace and cut out!  Presto!

Step Six:  Trace your letters onto felt, and cut them out.

Step Seven:  Glue your letters down.  You can sew them on...
Did I mention I am impatient?  The glue worked just fine.

Step Eight:  I used my pom pom maker to make some poms!

Step Nine:  You want to flip over each of your pieces, and
put your first piece all the way to the right.
In other words, flipped and backwards.

Step Ten:  Glue down your yarn and fold the top over.  Keep going until you have all your pieces glued down.
Make sure you try and space them evenly.
NOTE:  Make sure you leave a long tail at the end!

Step Eleven:  Feel so accomplished so far that you get yourself a soda.
(I know they are not good for you...  I usually keep it to one a week!)
Make sure you leave a long tail at the opposite end, too!

Step Twelve:  Tie on your poms!
I did small ones inside, but bigger ones on the outside.
Poor red pom was left out.

Step Thirteen:  Hang up your bunting and giggle with joy! 
(Excuse my mess in the background...  I didn't even notice there were things on the kitchen pass-thru!)


I have other things I wanted to talk about, but I am a busy little bee!  I have to get ready for a craft show.
If you're in the Antioch, IL area on September 7-8, please come visit my booth and tell me you've seen my blog or follow my facebook or Instagram  

I'll be splitting my booth with my friend/co-worker Carrie, too! Click HERE to see her etsy shop.  She makes some really unique and wonderful items, including this piece that is one of my favorites:
You can find this listing HERE!
I have never seen anything like this before... but that is what Carrie
is all about.  She's very original!


Usually I try to leave you with a pic that isn't really crafty-related.  Today on my bike ride, I was able to see some Helmeted Guineafowl!  Seriously, these birds do not live here...  Like, in this country even.  So I am assuming someone lost their birds off their farm, because it seems they can be imported into the US.  After reading about them, I realized that they could be my favorite bird.  THEY EAT TICKS!  If you don't know this about me already, I am terrified of ticks.  If I ever have a yard and can have one of these birds, I would do it in an instant.  Ticks be gone!  So until next time...
Scroungin' on the trail.  So cute!


Sunday, August 18, 2013

Game Playing, Flowery Orders, and Blue Herons, Oh my!

On the last blog post I was so busy showing you how to make a hoop that I forgot to show you two recent purchases I was very happy with!  I went out to McHenry, IL with my friend, and we checked out two shops we've never been to before. 

The first was A Peek Into the Past Vintage.  The owner was super friendly, and this antique shop had tons of items in it!  I felt like I could have been there for hours and still not see everything.  The shop was immaculately clean, and everything was organized and displayed so nicely.  I'm thinking of going back before the holidays and getting my sister-in-law a few things, as she's been into vintage quite a bit lately.  Let me show you my great find...

An old cribbage board... with wooden pegs!  Only $8!  SCORE! (Do you like my bad pun?)

My husband loves cribbage, but dislikes the board I bought at some discount store years ago.  When I saw this, I knew I couldn't wait until November to give it to him.  We've already used it, and he was impressed with the fact it had wooden pegs.  So, if you're in McHenry, I really suggest stopping by A Peek Into The Past Vintage... it's a really neat store.  I can't wait to go back. 

While out and about, across the street was White River Junction.  What a neat shop.  Spacious, clean, organized!  There were tons of items I wanted to buy here.  Plenty of home decor and jewelry.  Local artists selling their handmade products, too - which is right up my alley.  My day of shopping in downtown McHenry closed with me purchasing this little guy from them shop:

He can hold a little business card or sign!


I haven't had much time to do any other shopping because this week I had some orders roll in... 
Let me share them with you!

20 large pink crochet flowers!  Interested in some of your own?  Click HERE!

Every time I make these little booties, I smile.  So small and sweet!

A mouse hat made with peach!  You can get one of your own by clicking HERE!

Other than that, I've taken up the sport of long-distance cycling.  It's not very crafty, but I wanted to leave you in this blog post with a picture I took just yesterday on the trail.  Until next time...
Great Blue Heron on the Des Plaines River

Wednesday, August 7, 2013

Long time, no blog!

I know I have been horrible about updating the blog, but life happens.  I spent my summer trying to hang out with my friends and family as much as I could, crafting new things that I had been wanting to try out, cleaning out my craft room and other various parts of my house, and eating really good food.

And now it's almost over.

That's right, my real job calls and it's time for me to spend my days teaching Math to what I like to call "The future of America!"  I love my job, but I love being off, too.  I'll miss the time I will have to myself, but I honestly miss the routine of a school day, school week, school month.  I need routine.  Without it, I drink far too much coffee, eat far too much food, and work out less often than I know I should.  So routine is good, and I am welcoming it come Monday.  I have new ideas for craft club, and I am very excited to try out some new curriculum with the iPad this year.  Not to mention, I miss connecting with students.  I don't have kids of my own, so I really look forward to being with the teenagers and watching them grow.

Enough about work.  I thought that maybe since I have been gone for so long, that I could come up with something that people might really like.  I posted a few pictures of my hoop art on Instagram (something I decided to dive into over the summer and am so happy I did!) and I was asked to explain how I made them.  Honestly, I have learned through trial and error... picked up bits of information from all over the internet, tried those techniques, tweaked them, got into my own groove.  So I thought...  I will make a tutorial for my blog!  So let's get started!


A Whole Lotta HOOPLA Tutorial!

Let's talk supplies...

First, I work with your standard ol' wooden embroidery hoop.  I think the one I have here is 4 inches, but you can use any size you want.  You can find them at almost any craft store, and they're inexpensive.  I have seen some really awesome painted hoops online, some fabric-wrapped ones... but I am an impatient girl.  I have wrapped some hoops in ribbon in a very similar method as the fabric tutorial I linked above, but I honestly don't mind the look of the natural hoop.

Second, grab a piece of fabric and some felt.  I use white or ivory colored felt for my hoops since it doesn't show through the fabric.  Padding the piece with felt is something I do that I notice other hoopers don't seem to do it.  Later, you will notice it gives you a nice little cushion, and just makes the project seem a little bit more finished, at least in my opinion.  Have enough fabric to cover your hoop, with about 2 inches more around it.  Have about two times that amount of felt. 

Whatever you want to decorate your hoop with, grab those supplies, too.  It could be felt, embroidery thread, beads, more fabric... the sky's the limit.  I just used felt and embroidery floss.

Lastly, you will need a glue gun and hot glue, and you're ready to get started!

1.)  Lay your hoop on your felt and cut around it.  Leave about 2 inches around the outside of your hoop.
2.)  Put your felt on your fabric and cut your fabric to the same size.  I guess you can do step 1 and 2 at the
       same time.  I think next time I will do that.
3.)  Make sure your have your right side of your fabric down and your felt on top of it.  Place the inner hoop
      on top...
4.)  ...then flip it over and place your outer hoop on top.  Pull the fabric/felt as you tighten the screw at the
      top.  You want everything to be nice and taut!


5.)   Cut yourself a piece of felt that is larger than the inside of the hoop.  Put that aside for now.
6.)   Decorate your hoop!
7.)   Voila!  Just keep going until you like what you have and feel like you're ready to finish your project.

8.)    Done!
9.)    Now flip over your hoop.  Be very careful and cut away the felt from the back of the hoop.  Don't cut the fabric!
10.)  Your hoop will now look like this.
11.)  Now cut your fabric, leaving an inch or so all the way around your hoop.

12.)  Your hoop should look like this.  Go ahead and plug in your glue gun.
13.)  Remember the extra circle you cut?  You want to make it just slightly larger than the inside of the hoop. 
         I used pinking scissors, but you don't have to.  Put it aside for now.

14.)  Using your glue gun, pull down and glue the fabric to the inside of the wooden hoop.  I try to stay on
         the wooden part when I glue.  Do a little at a time and use enough to keep the fabric in place. 
15.)  This is what you will have when you're done gluing the fabric to the inside wooden part of the hoop.
16.)  Now get that little circle of felt.  Place it in the middle and glue it to the inside rim of the hoop.  This will
        cover all the little bits and the back of the hoop and give it more of a clean look.

And ta-da!  Here is my little hoop I made! 


Hopefully that all made sense.  Of course, you are more than welcome to ask me any questions you may have.  I'm here to help.  If you want other tutorials, please feel free to ask, too!  I'm always receptive to new ideas.

Before I go, there is one more bit of news that I am giddy about.  Someone actually did a blog post on me!  I am beyond flattered and excited.  I wanted to share it with you...


Ann and I connected via my sister-in-law on facebook, and I have to tell you...  I am in love with the items she makes in her etsy shop!  There are two items in particular, but you have to check out her entire shop.  She's amazingly talented! 
Seriously?  How cute are these?  I just need a deer or a Jack Russell...

My Sister-in-law has two of these little terrariums and I have been in love with them since I saw them.
How can you not smile when you see this?!

Speaking of smiling, I am pretty happy for finally sitting down and getting a blog post done.  I hope you have enjoyed it, and I do plan to stay on top of it now that school is almost back in session.  (See?  I need routine so badly!)  Remember that you can also catch me on my facebook, my Instagram, or over at Scrappy Blanket doing a little crochet-a-long! 


Tuesday, May 28, 2013

Oh boy... Long time, no post.

Funny how my full-time job got in the way of my part-time posting.  Sorry about that.  I will eventually get to a nice, long, personal post.  Right now, I am ultra busy still...  I just started a website with one of my crochet idols, Rachele, of BabyLoveBrandKids.  For now, check it out at www.scrappyblanket.com!  :)  Thanks for your patience!

Sunday, April 7, 2013

Spring Break!

I hope your spring break was an amazing one!  I was able to head out to an awesome spot in Indiana to celebrate my anniversary, I was able to sleep a bit more than I had in the past... and I also was able to create to my heart's content!  I have been very busy...  Let me get to the show and tell!

First I made a pig hat for a co-worker...
Interested in one of your own?  You can get it here!


Then Easter was on the way. I made egg cozies for each person who would be at dinner.  I didn't get a good photo of them beforehand, though.  This is all I got:


I also decided to take some extra fabric I had and stitch up easter bags instead of buying plastic ones.  This was one of the two I made for my nephews:


I even managed to make a little bunny stuffed animal on my sewing machine, too!


While the machine was out, I decided to try something I had been toying with in the back of my mind for a while now.  The banner I have in the works for future craft shows!


As spring break went on...  my coffee consumption increased.  This inspired me to create quite a few coffee cozies!  I made so many, I am only going to put up a few pictures here:


Interested in a coffee sleeve!?  You can find a plethora of them here in my shop!
I am going to be posting more throughout the week...  not all of them are up yet.

The last two that you see above have fabric flowers attached.  I was able to make some and attach them to some hats, too!


And finally...  I made a couple of fabric flower pins, too!  Good news:  They are part of a 
GIVEAWAY!

You have a few ways to win/earn entries:
  1. Comment on this post
  2. Comment on this wall update on facebook
  3. Share the wall update on facebook - and let me know you did!
  4. Like the wall update on facebook
I will select a random entry next weekend and send it out in the mail.  The winner will be able to choose which pin they would like.  


WHEW!  I think that's it for now...  I hope you enjoyed all the pictures, and I want to thank all of you for keeping me going when it comes to creating!  Taking a little break has helped me quite a bit, and I plan to do it sporadically throughout the year.  Welcome to April!